Documentation
Everything you need to get started, integrate, and get the most out of Topogy.
Databricks
In databricks, a Service Principal allows us to run a background job on your behalf, with the permissions you give it. We will be creating a read-only Service Principal with access to your cost, usage, and compute system tables which will allow us to provide accurate cost and efficiency recommendations.
Setting up a Service Principal account
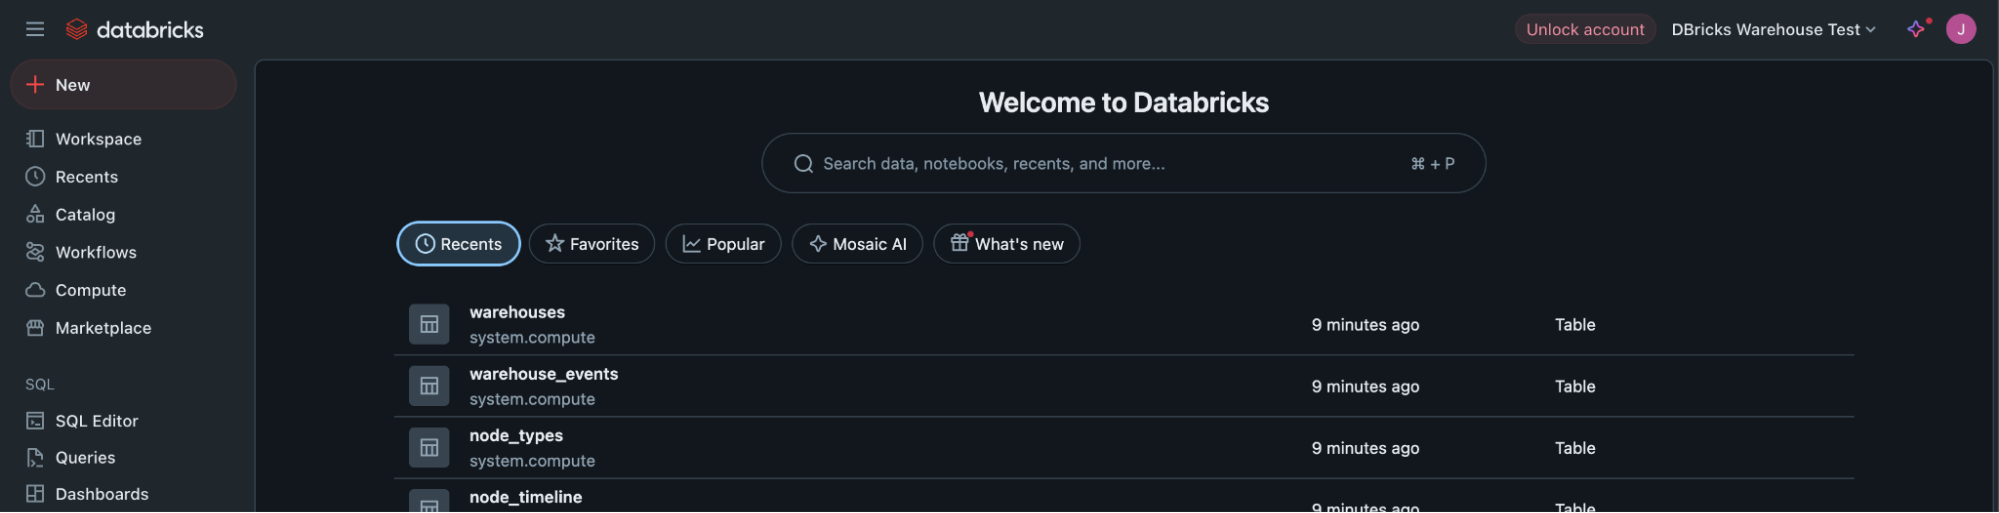
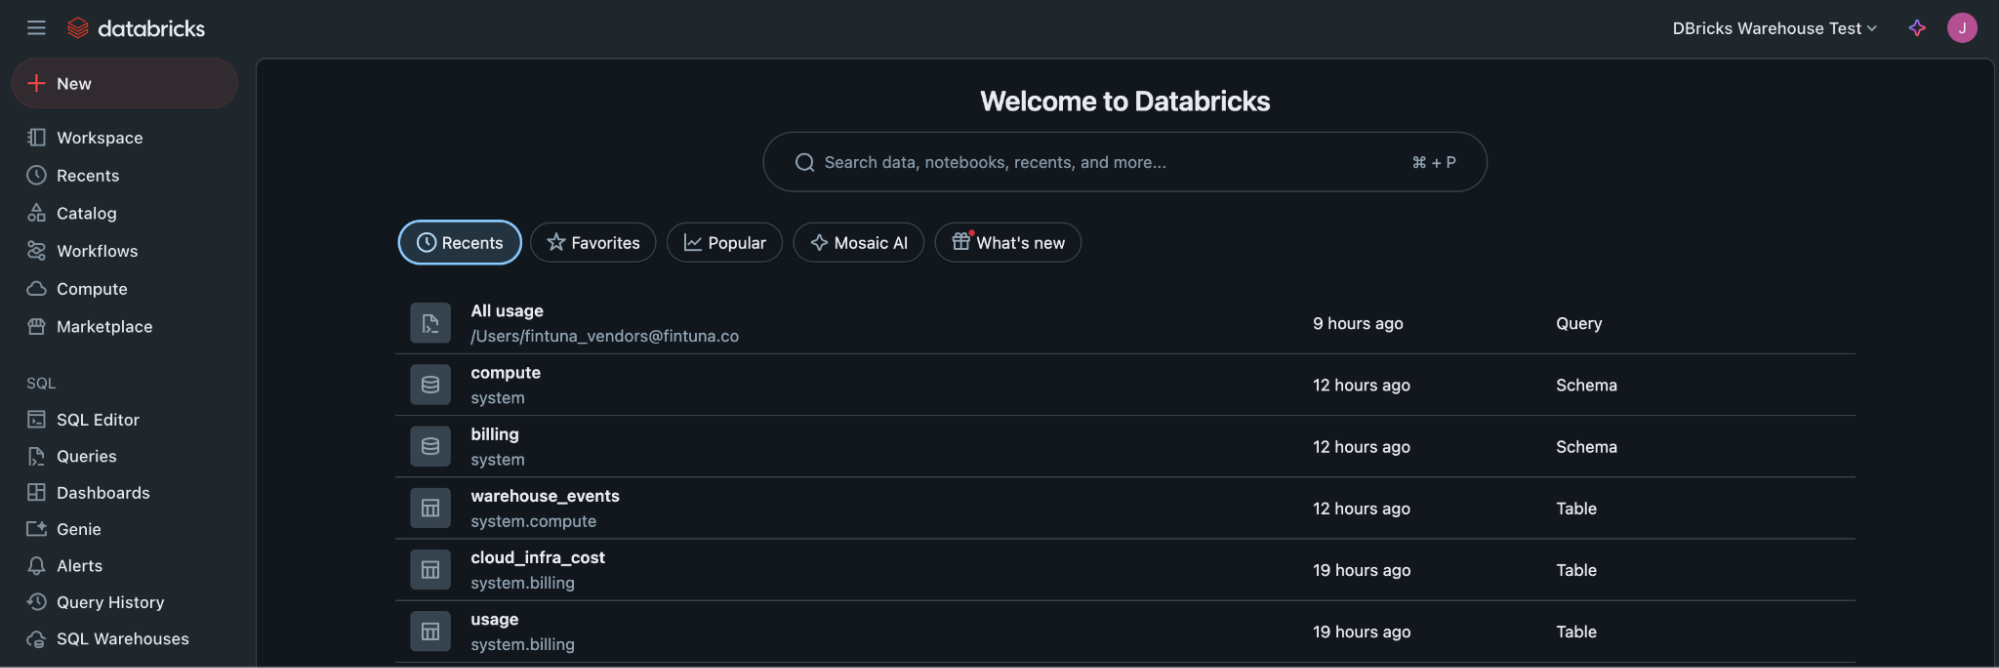
Navigate to Settings
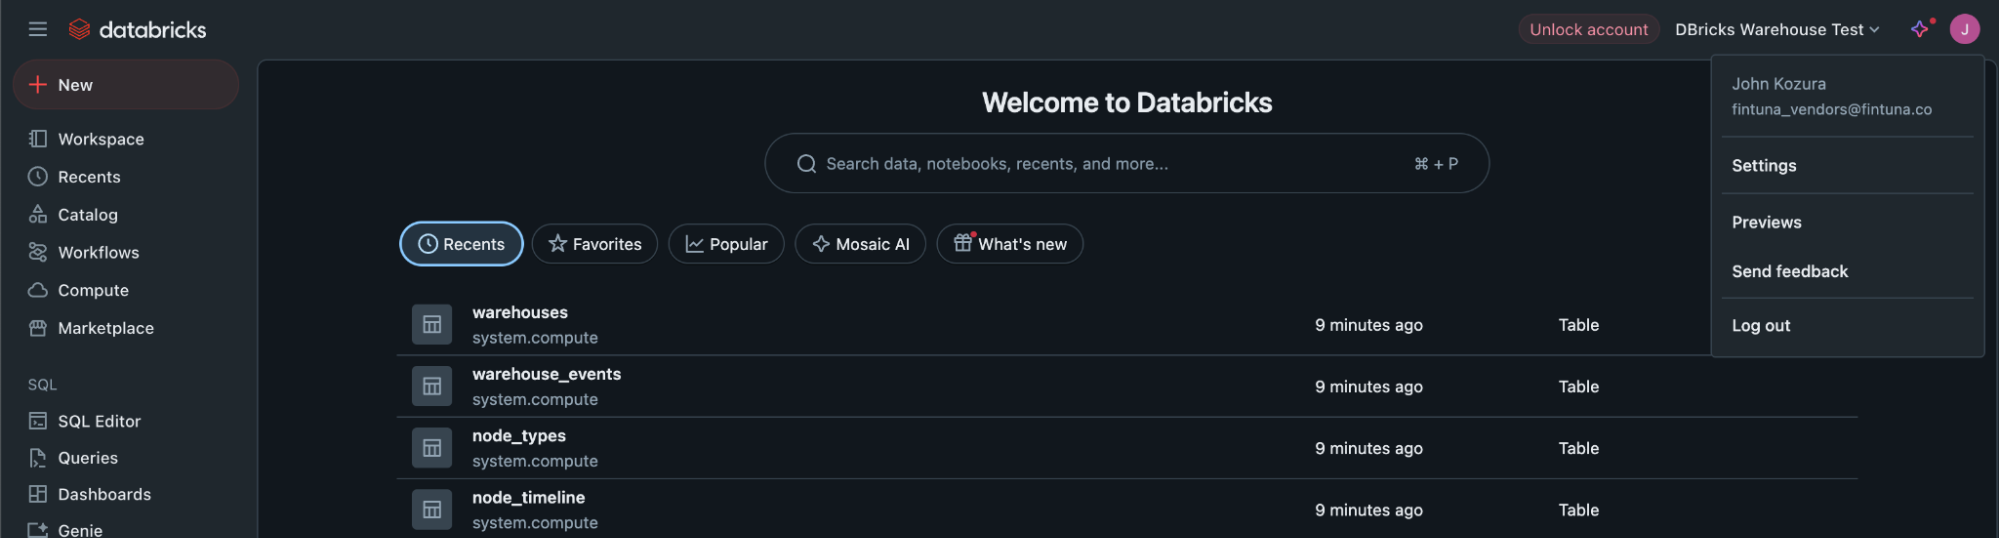
- Start on the homepage, go to your profile settings (upper right J)
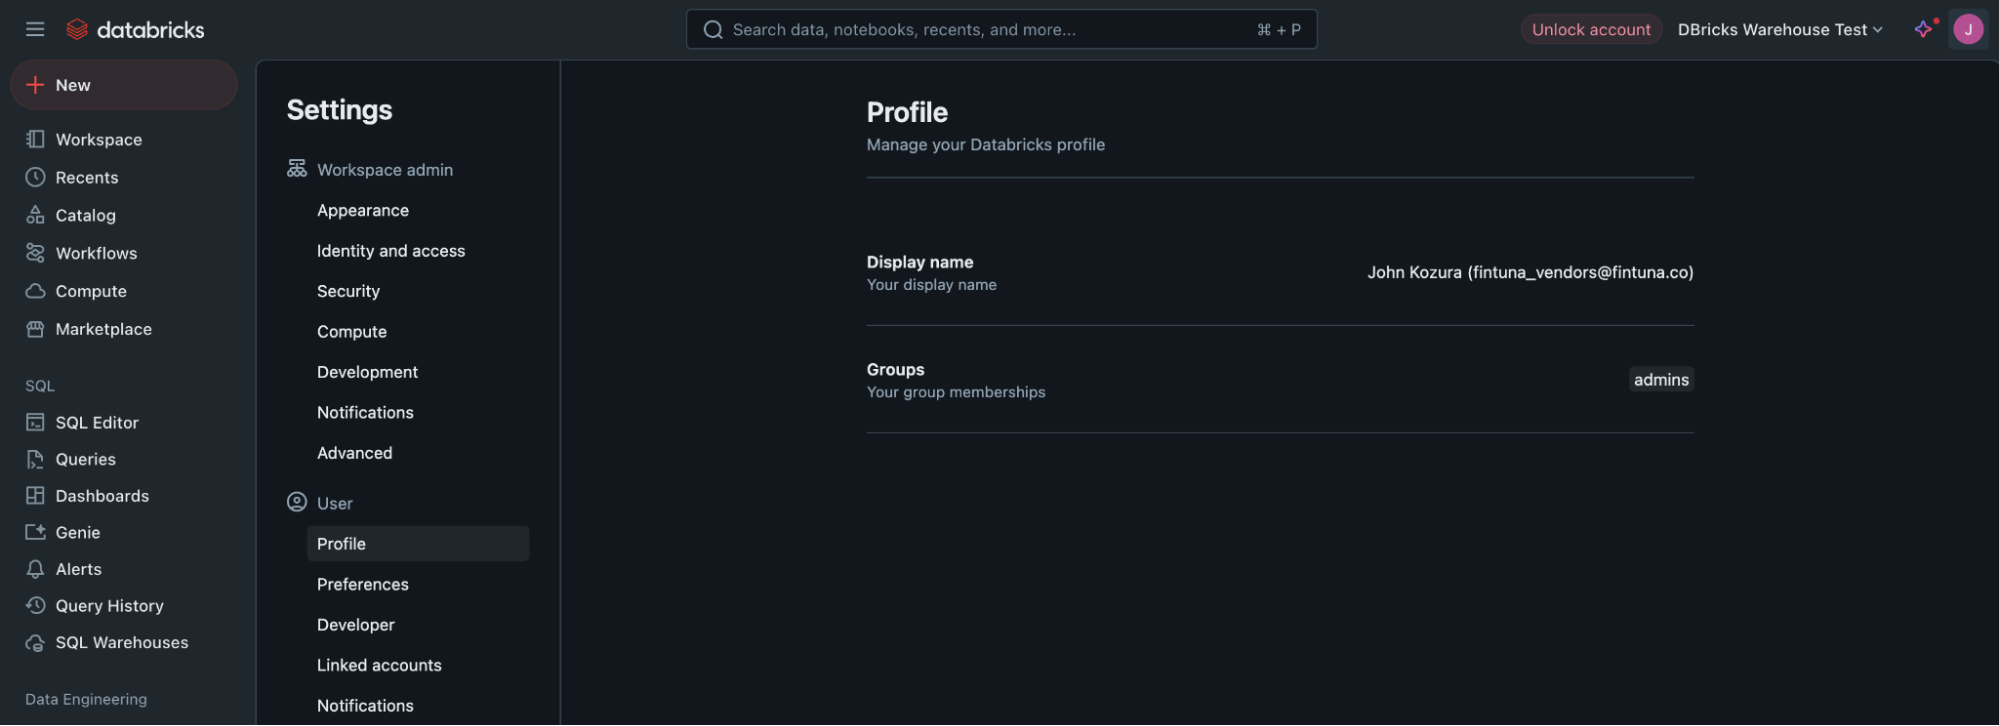
- Click Settings
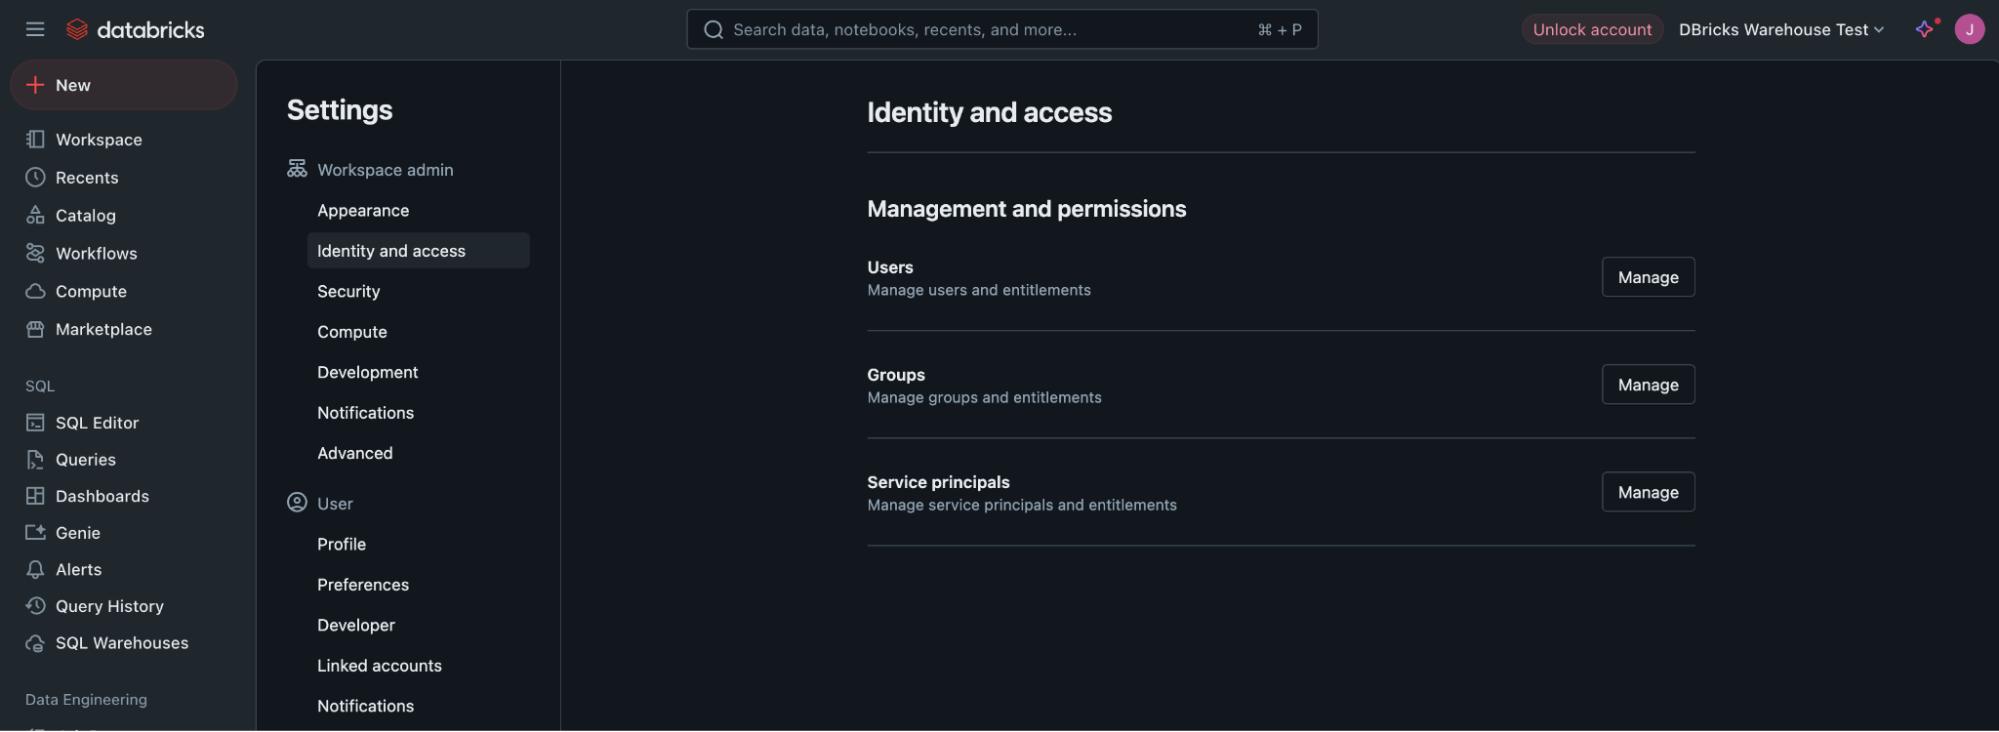
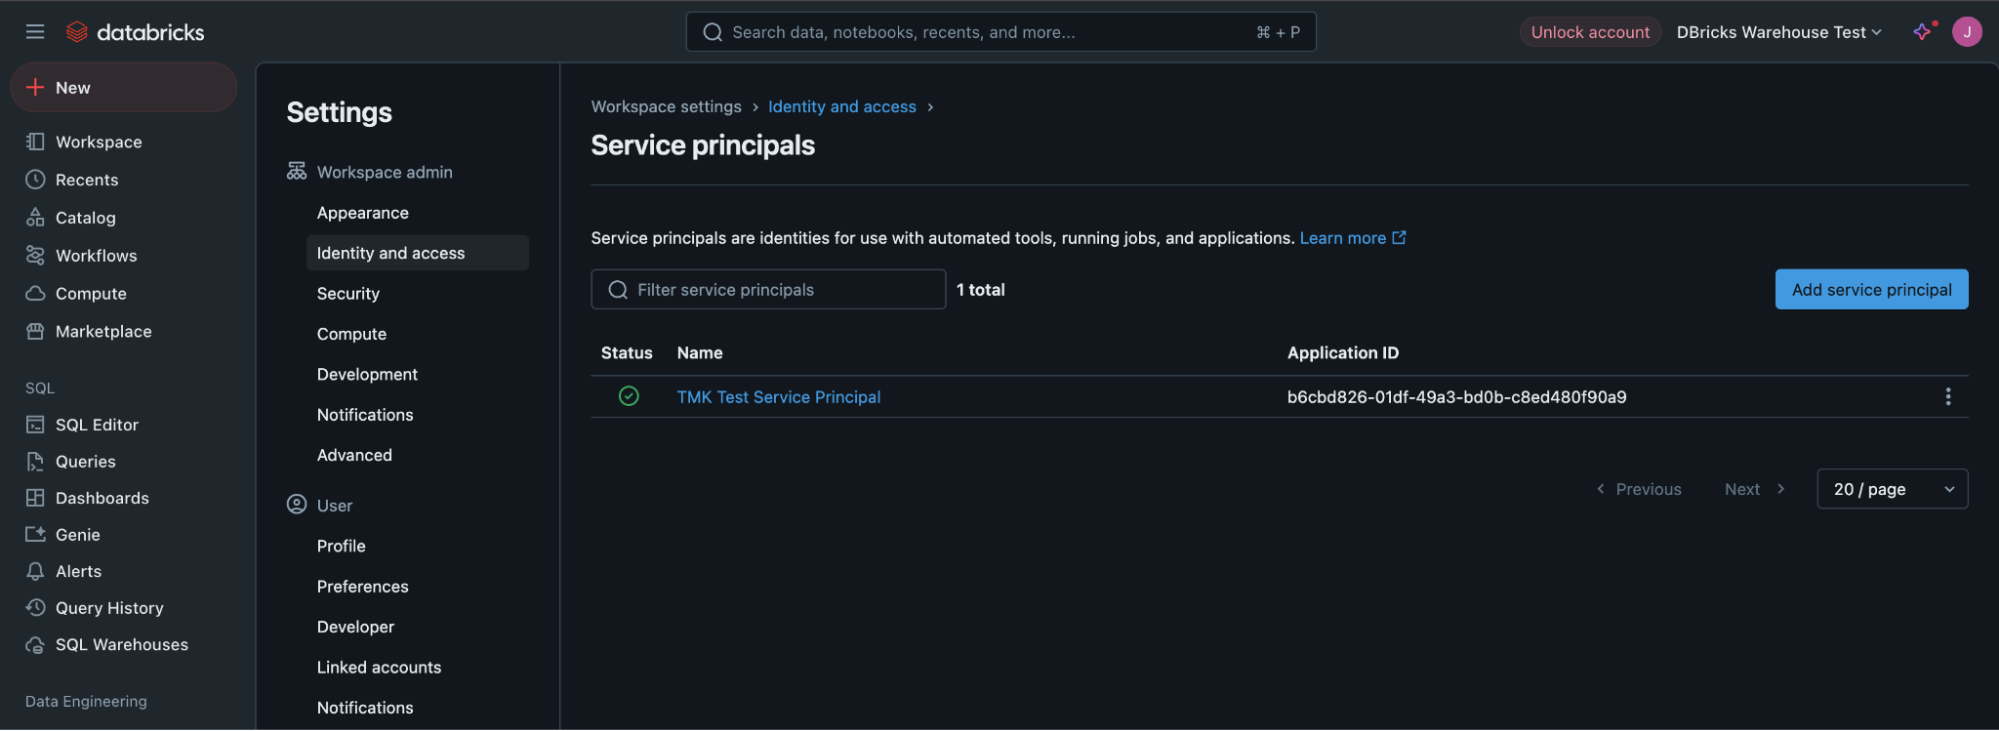
- Click "Identity and access" item under Settings
Create the Service Principal
- Next to Service principals, click "Manage"
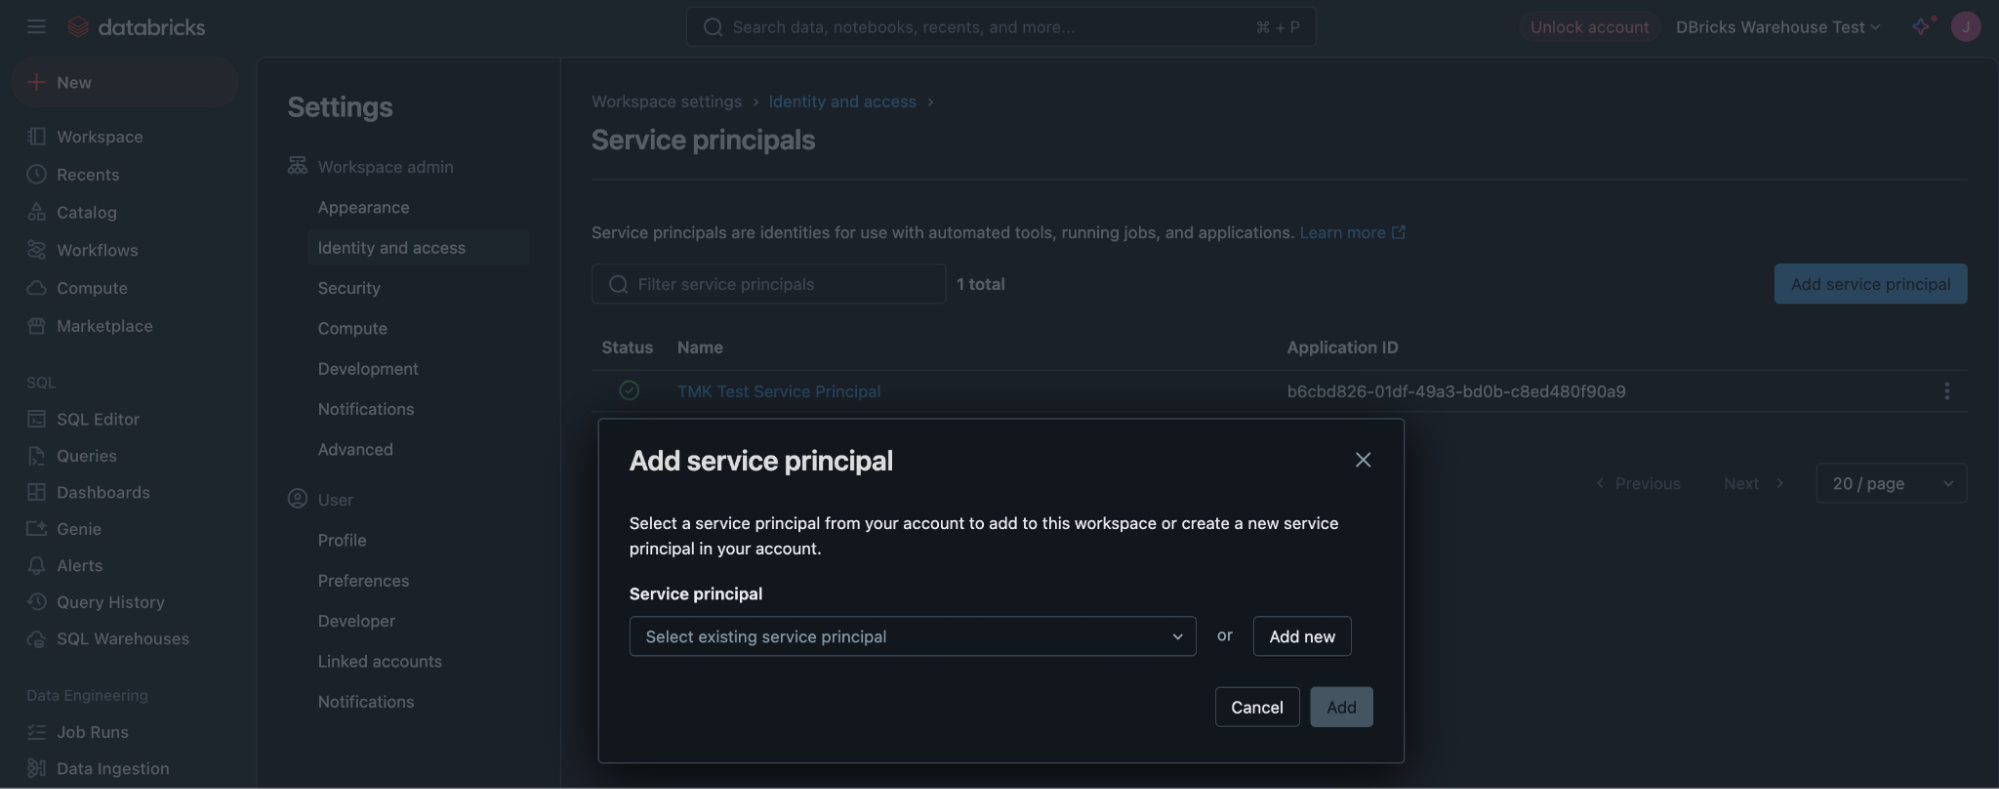
- Under Service principals, click "Add service principal"
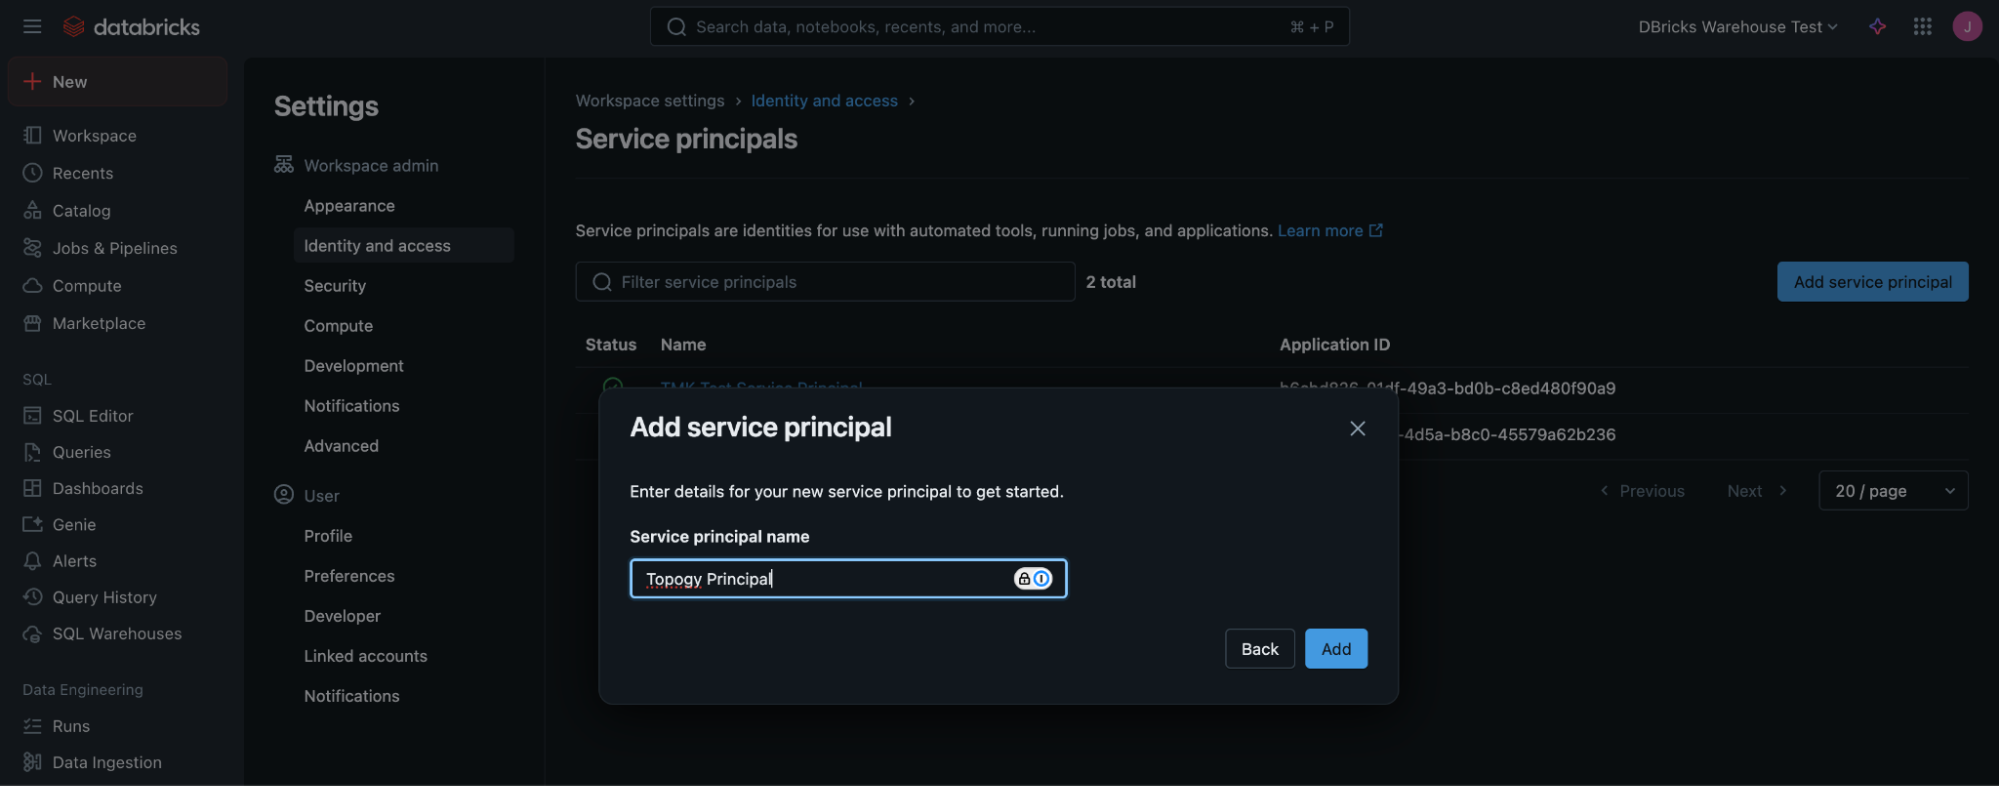
- On the popup, click on "Add New"
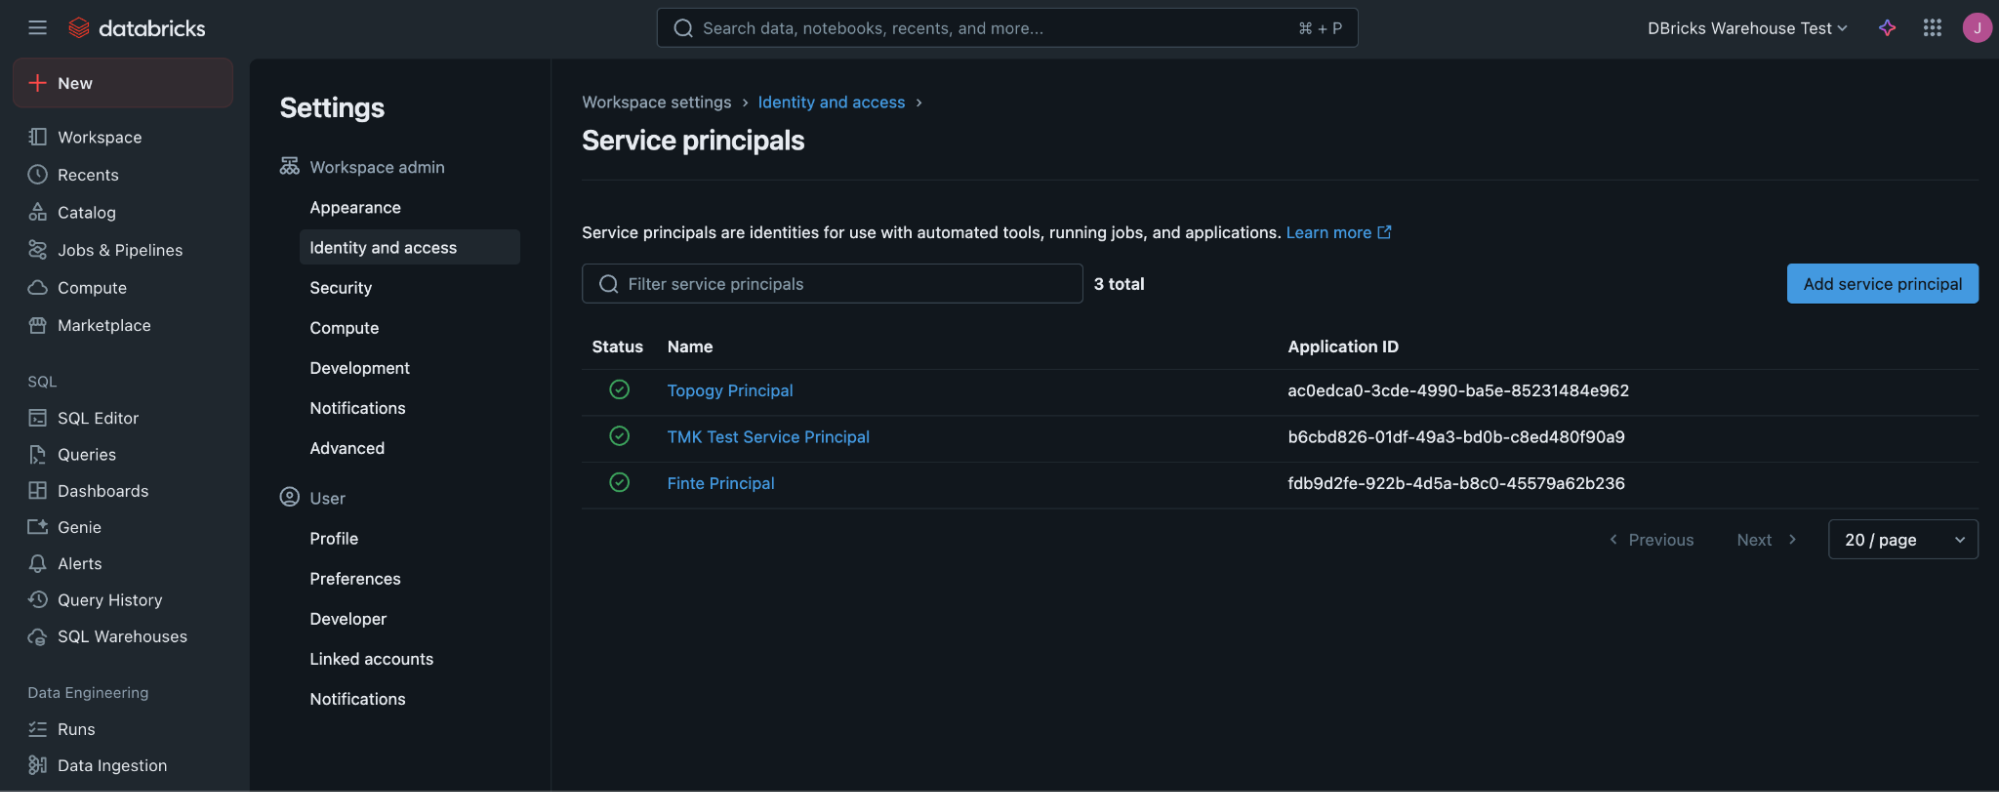
- Enter the name "Topogy Principal" and click Add
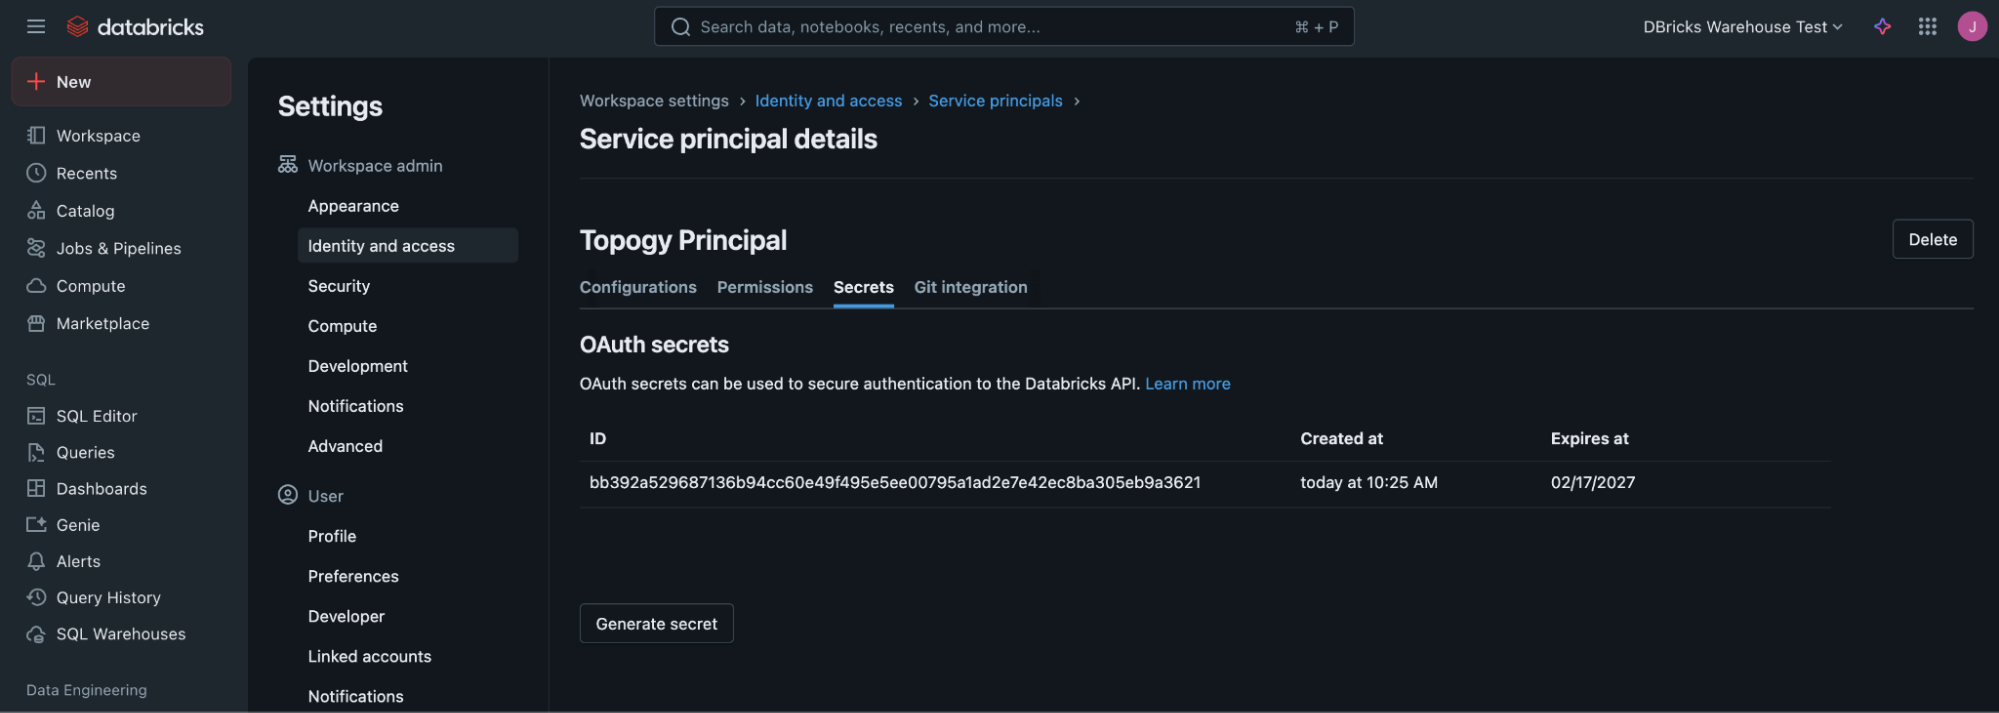
Generate an OAuth secret
- Now click on the new Service Principal you just added
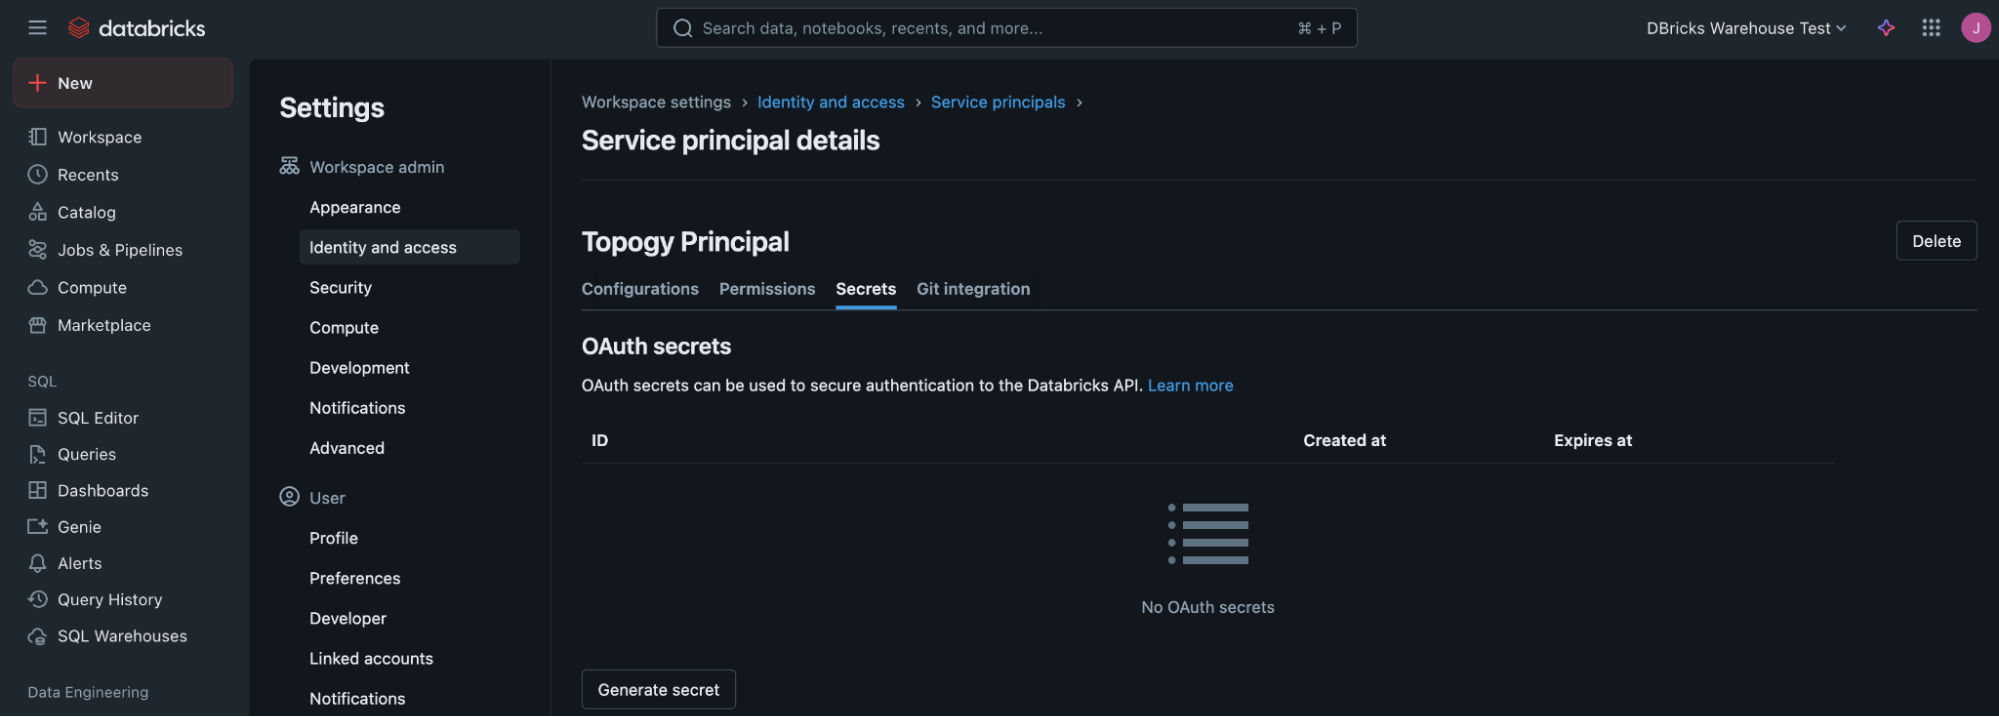
- Select "Secrets"
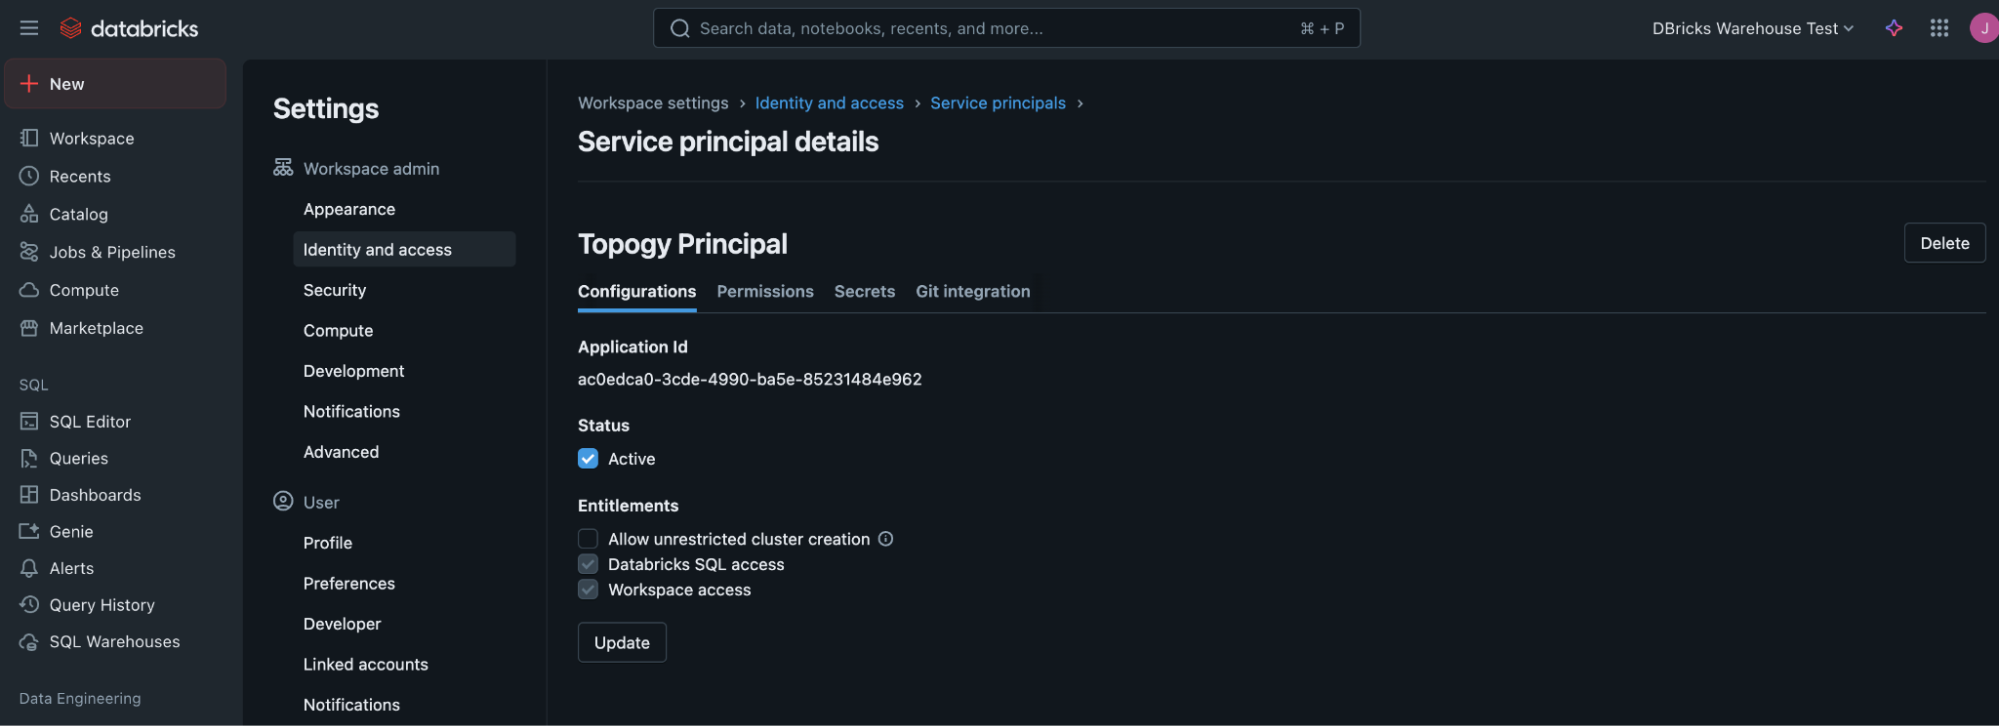
- Click "Generate secret"
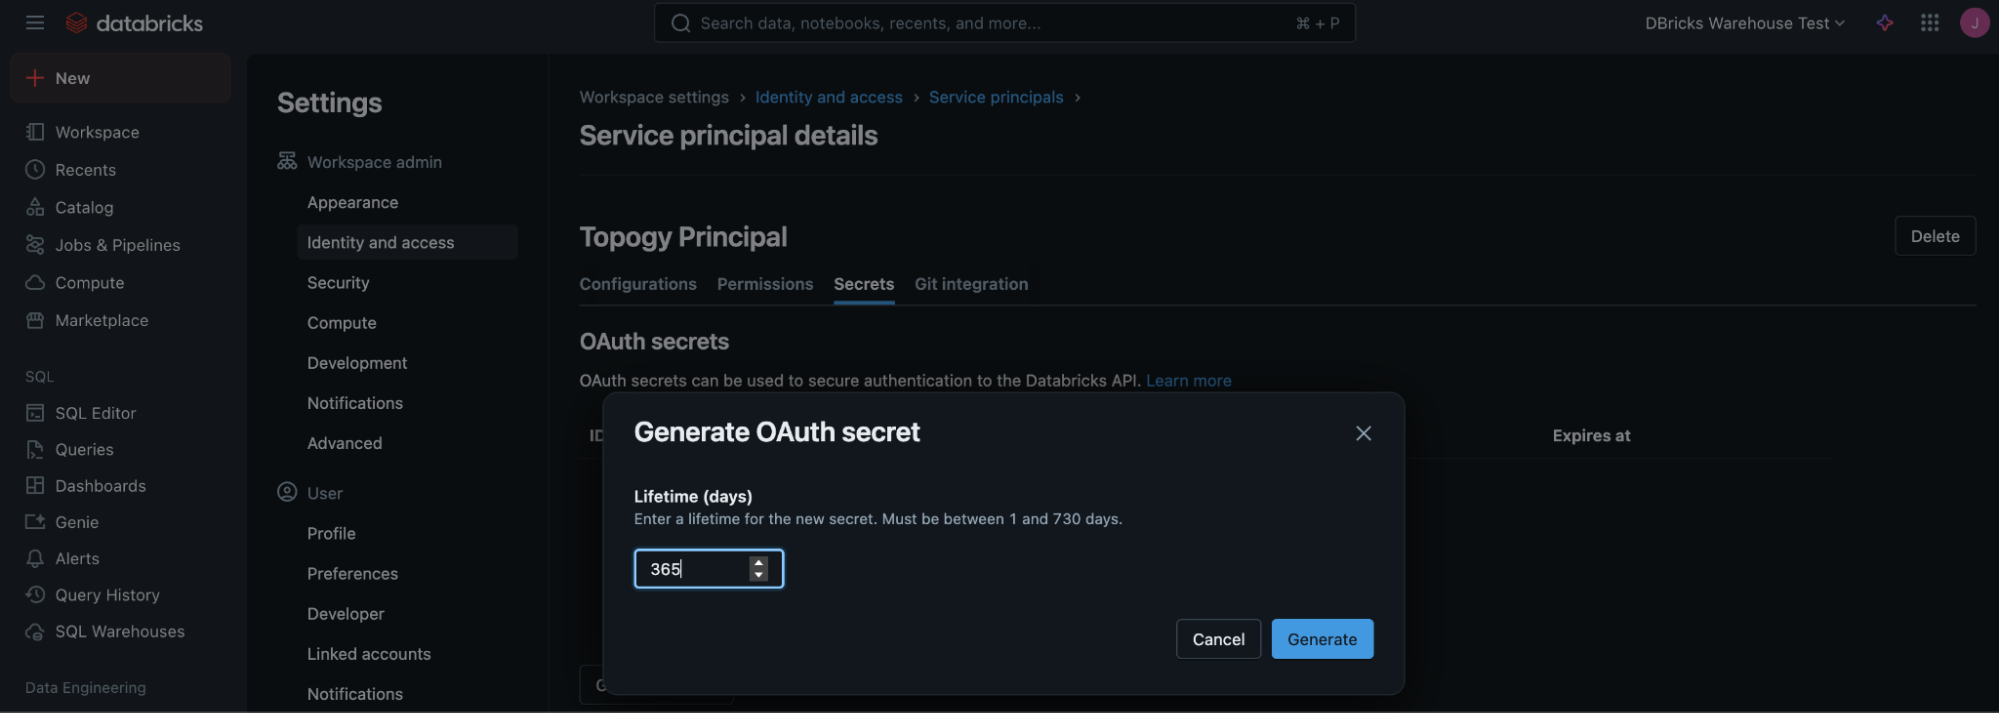
- Enter a timespan - we recommend 1 year. You can rotate this based on your company's security policy
- Databricks will generate an OAuth secret, copy these two values as you will not see them again
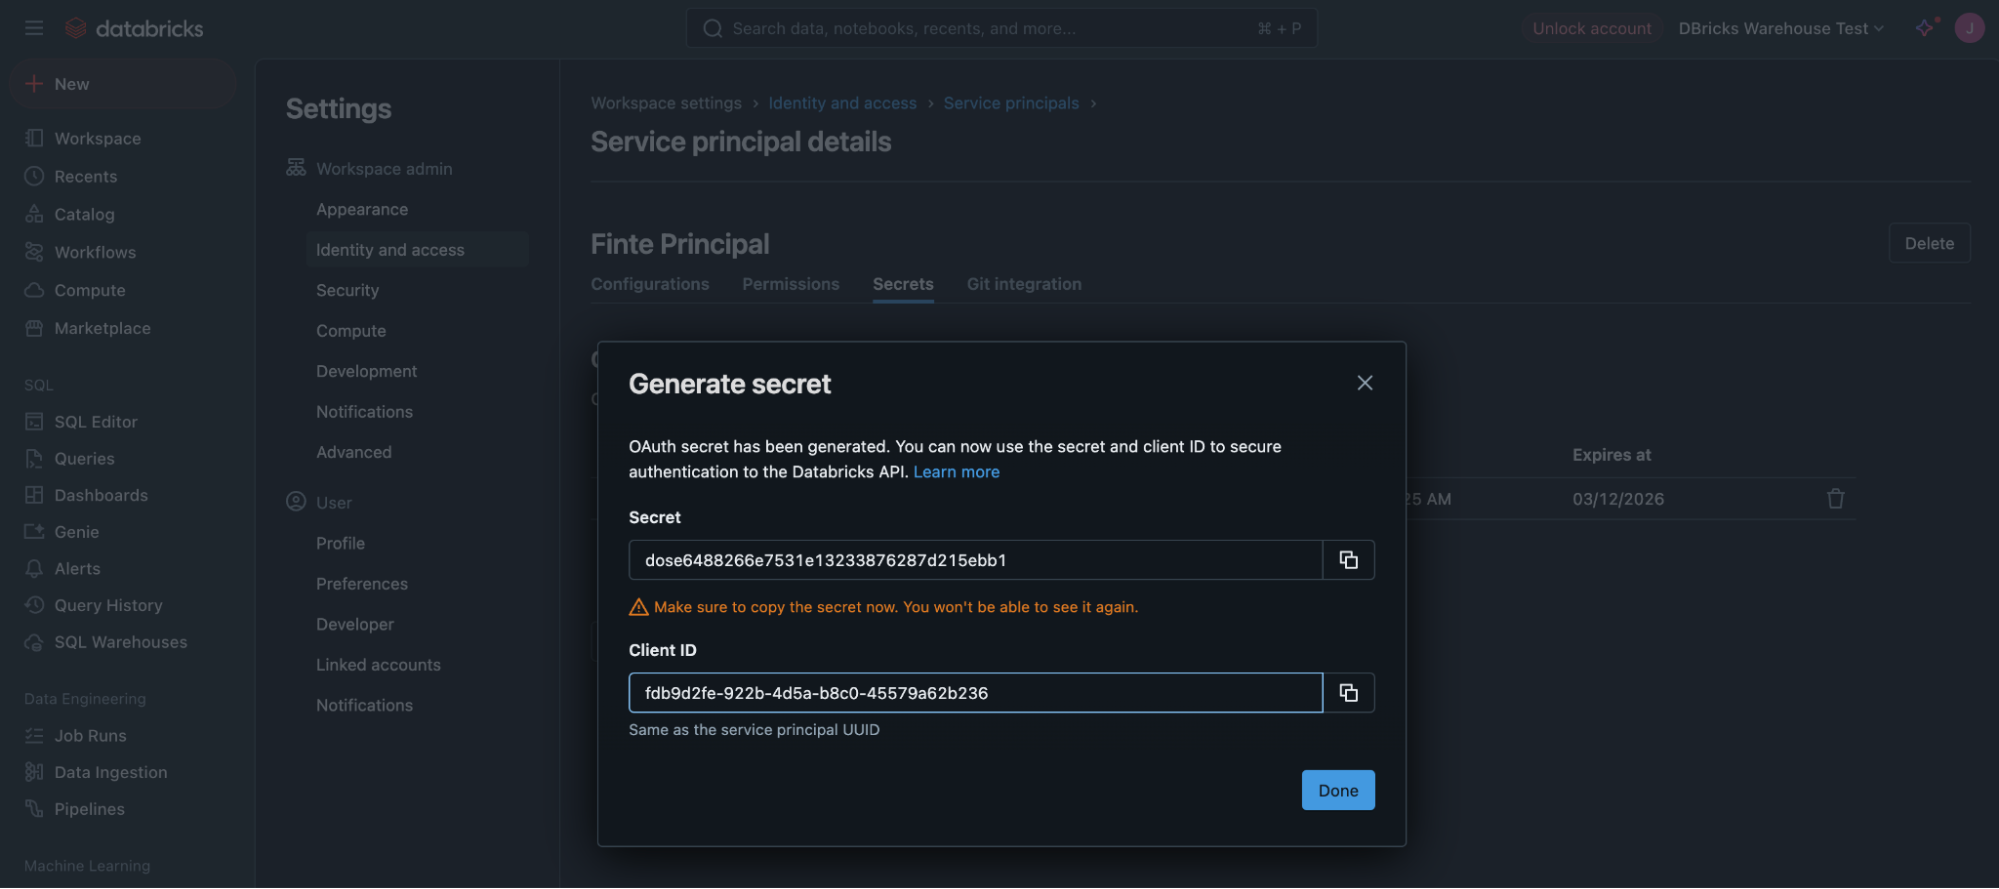
You are done generating an automated user and secret!
These values get entered into the Client ID and Client Secret fields in the Topogy Databricks integration page.
The secret key can be revoked at any time to disable Topogy's access to Databricks. It can also be rotated by generating a new key, and entering the newly generated Client ID and Secret into the Topogy Databricks integration page. Note that the key will also automatically expire based on the time period you set above.
Creating a SQL Warehouse
You may use an existing SQL Warehouse to enable Topogy to extract the needed usage data, however we recommend creating one that is dedicated for this task, which is sized appropriately in serverless mode. By default Topogy will access this approximately daily to minimize any costs, although you can adjust the update frequency if you need more up-to-date data. If you decide to use an existing SQL Warehouse, skip down to the last steps below to find the Connection details values; otherwise:
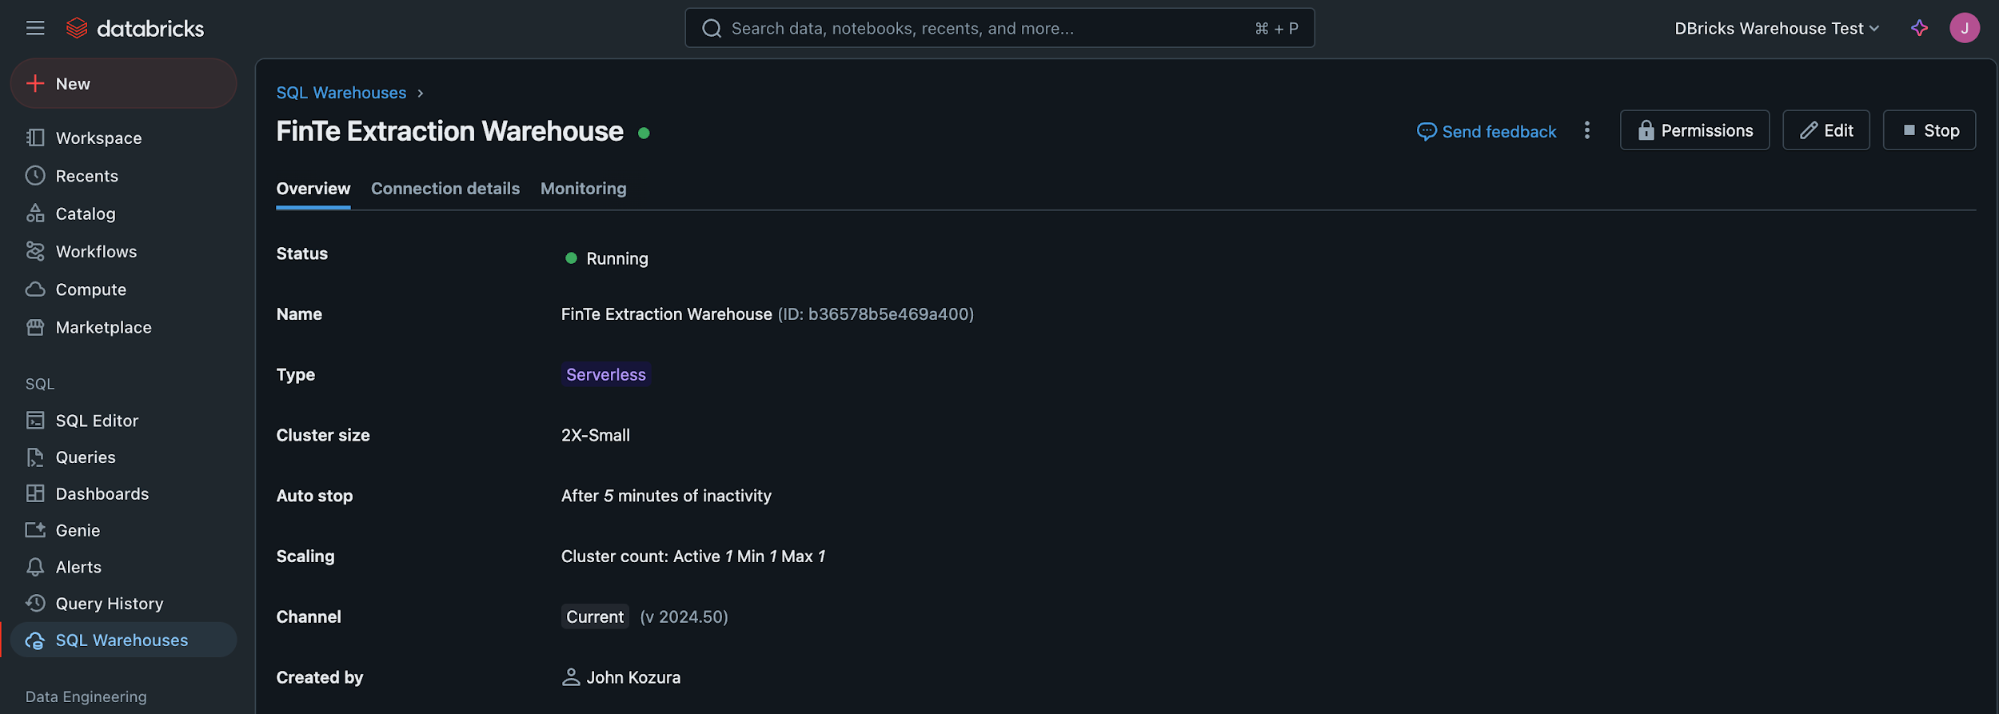
Create and configure the warehouse
- To create the Warehouse for Topogy to use, navigate to the "SQL Warehouses" from the left-side navigation:
- Now click on the "Create SQL warehouse" button

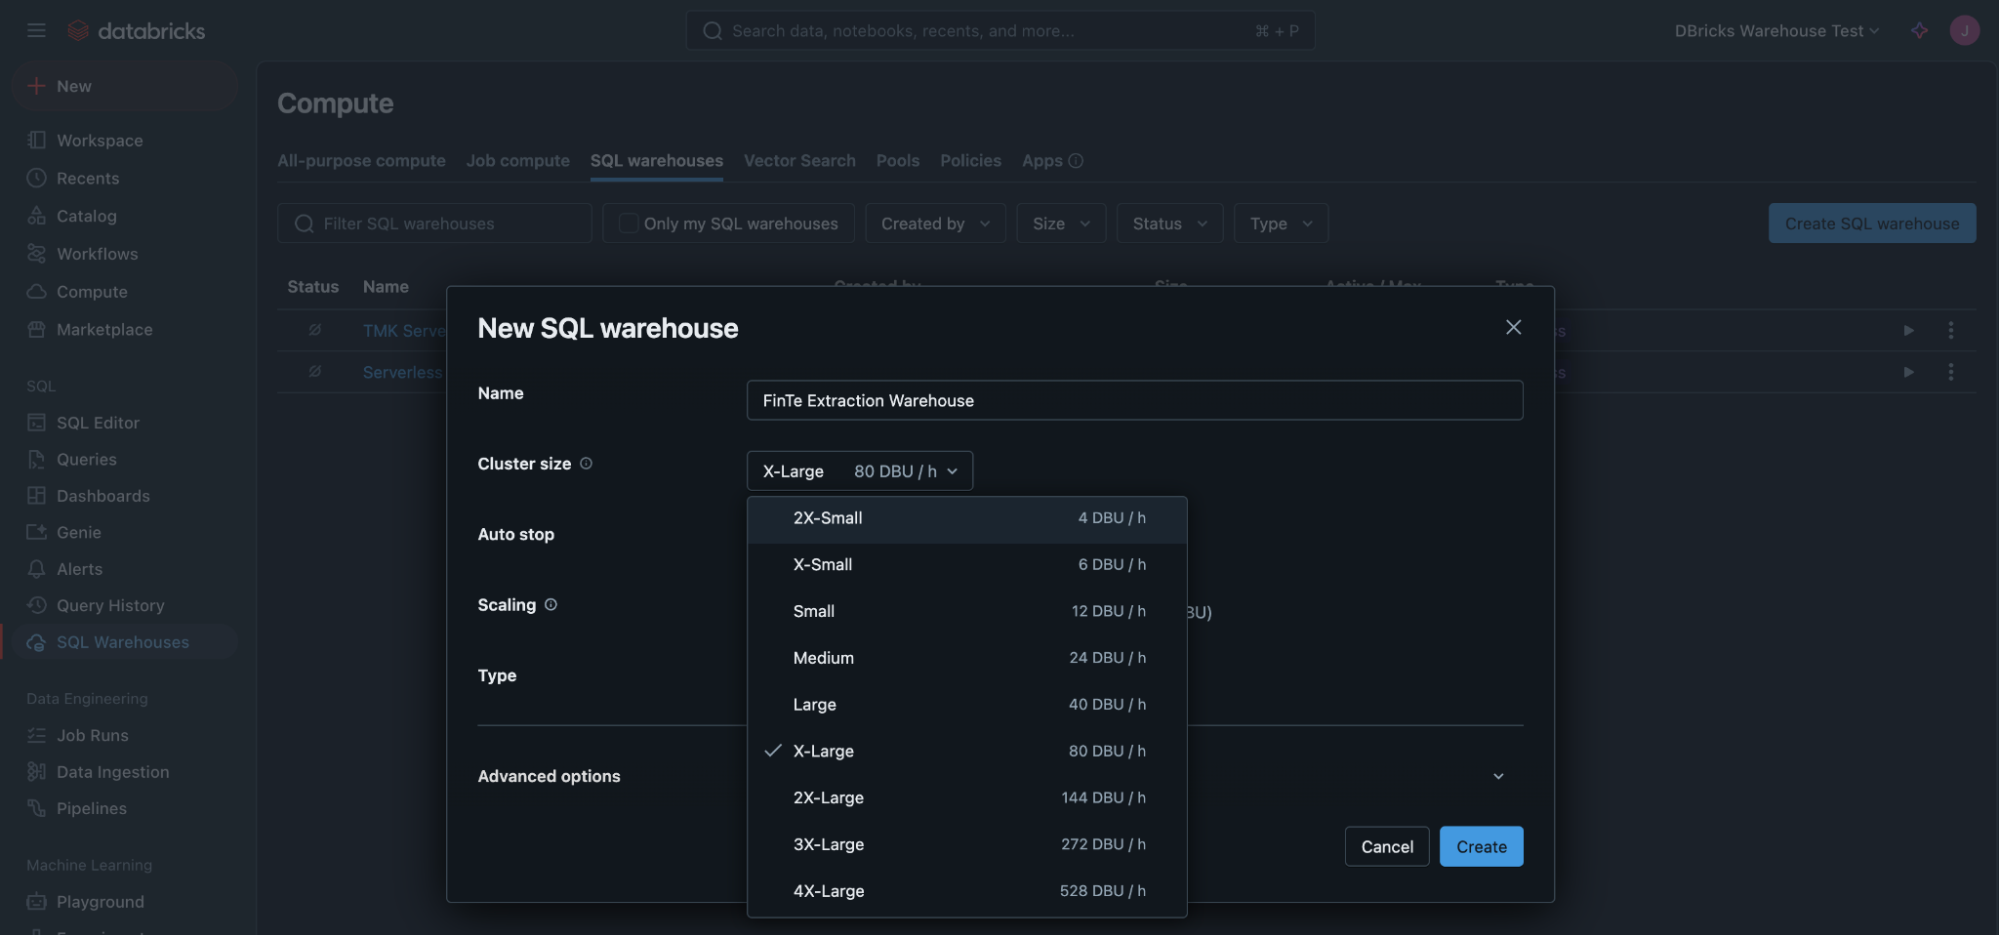
- Give it a name like "Topogy Extraction Warehouse, then click on the Cluster Size selector
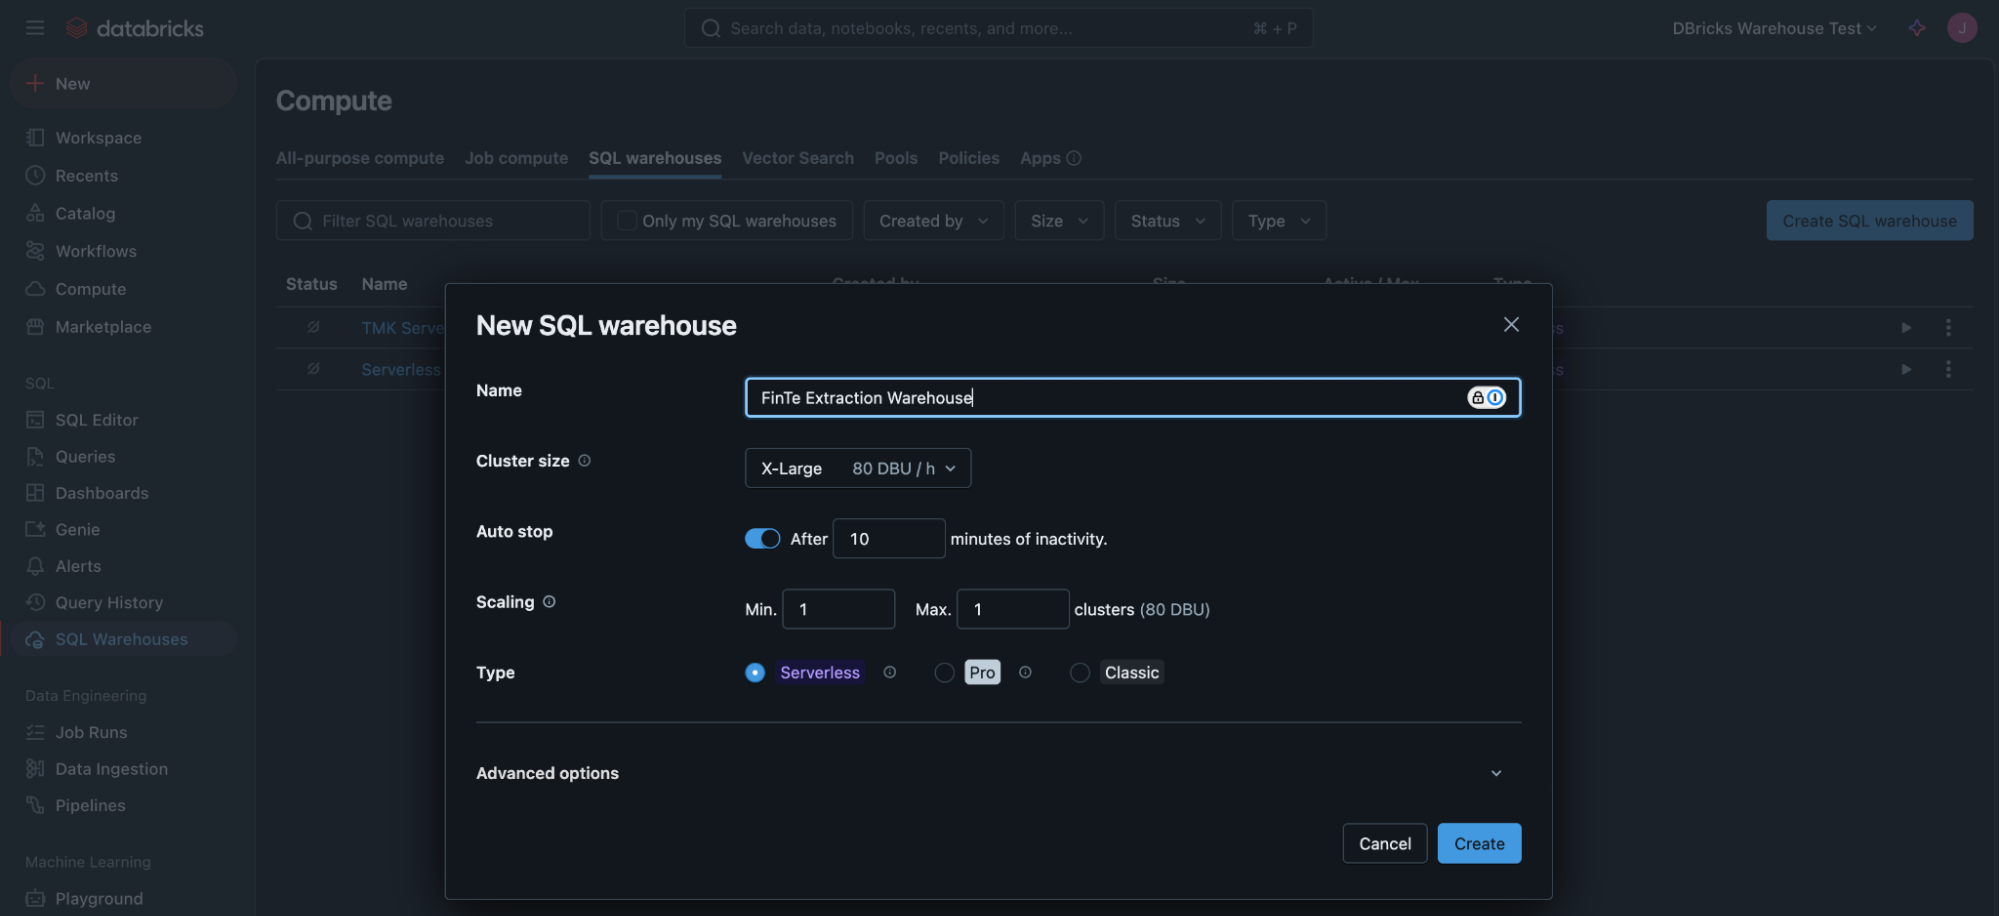
- Select the smallest cluster size, 2X-Small
- Set the "Auto stop" timeout to 5 minutes. Leave the rest of the options as-is, and click the Create button

Grant permissions
- Now you need to give the Topogy Principal permission to run this warehouse. Type Topogy Principal in the textbox to find the previously created Service principal
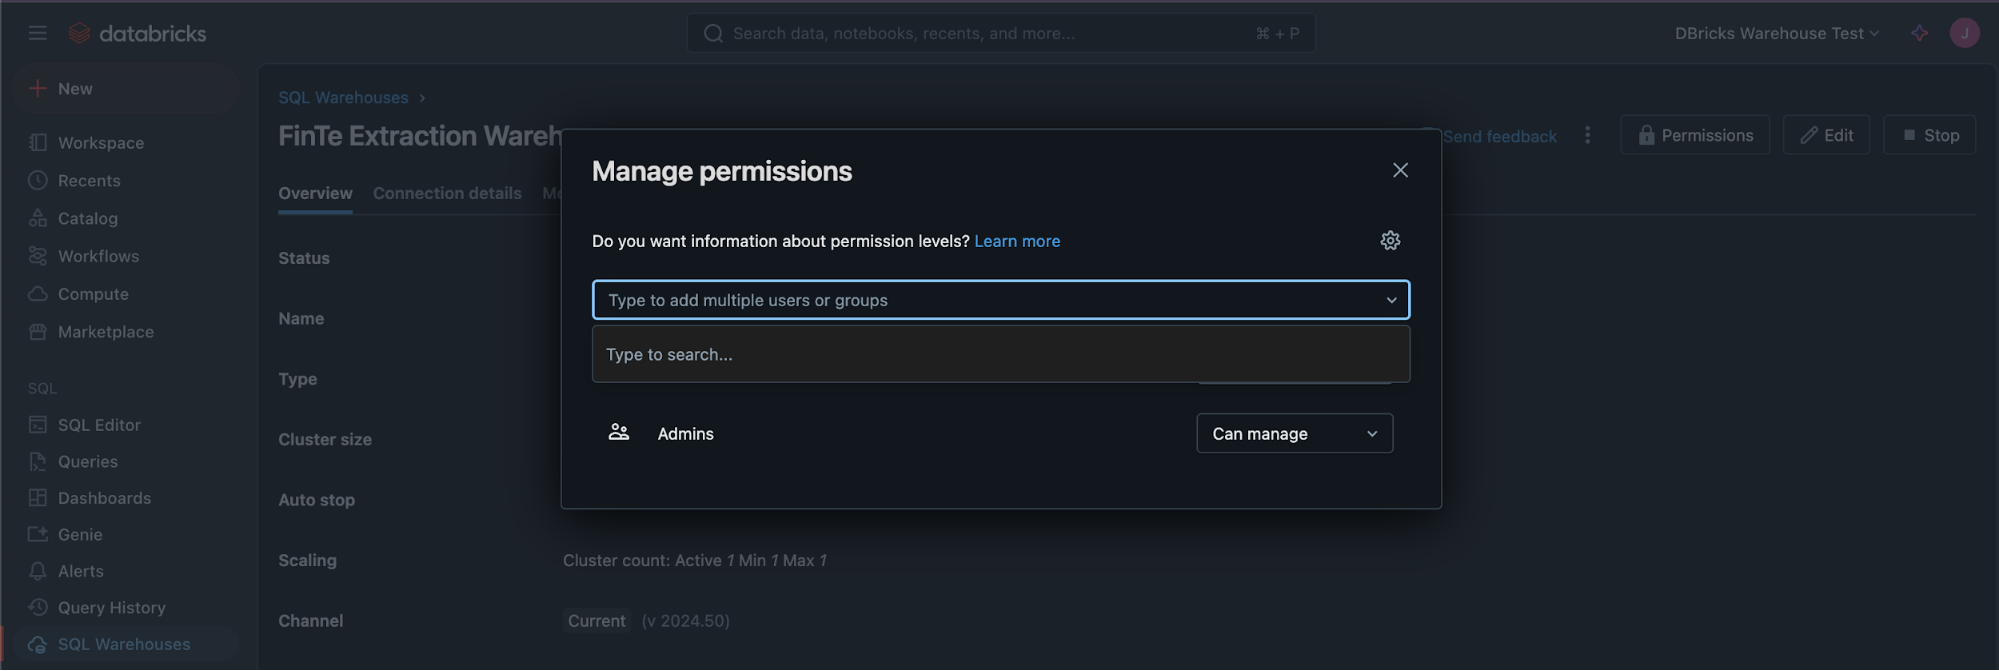
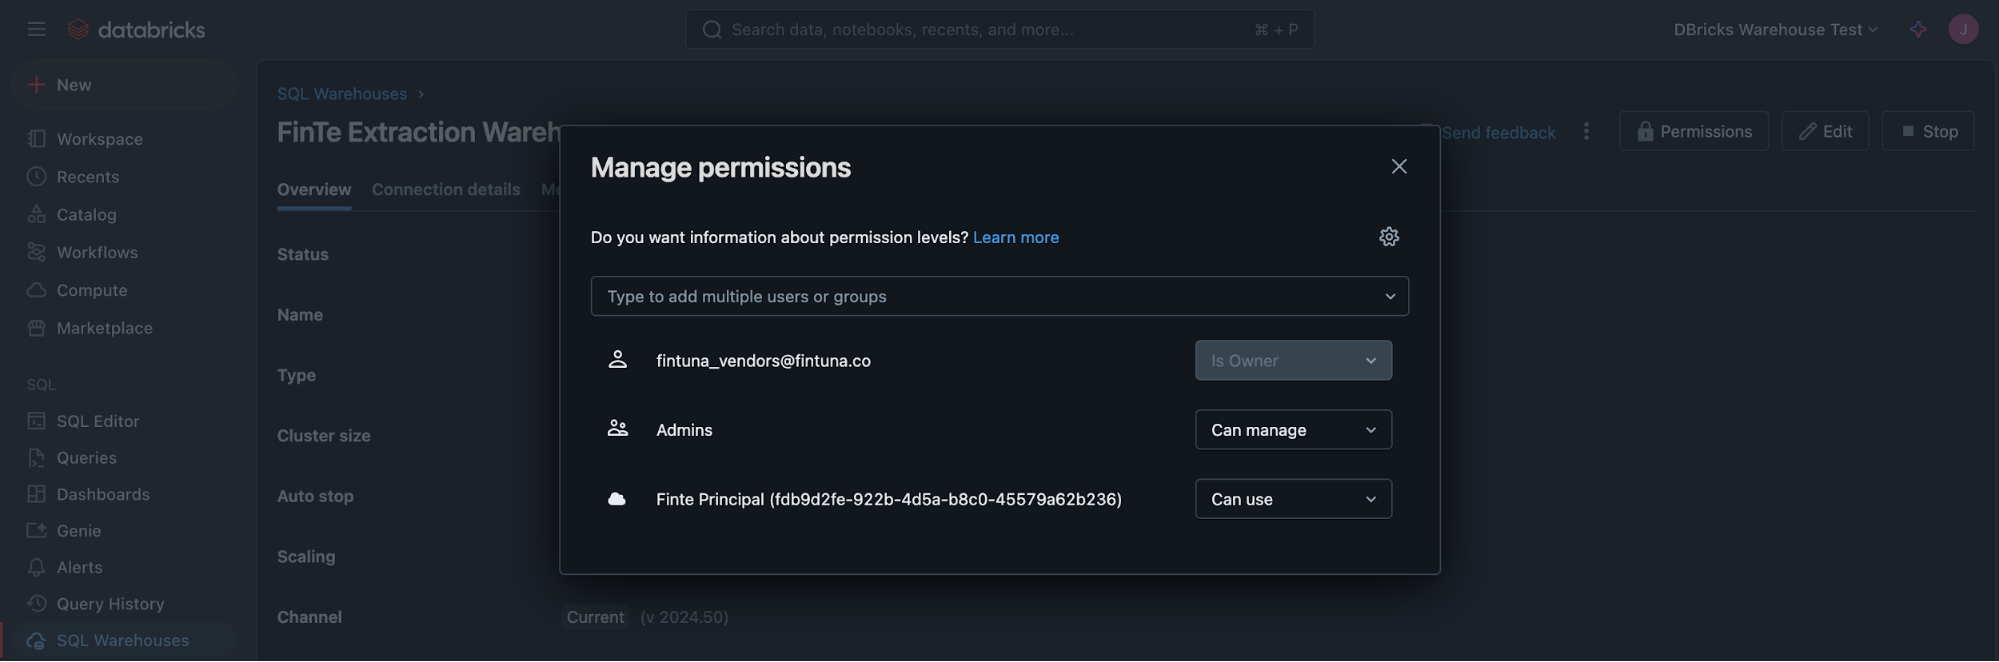
- Select the autocompleted "Topogy principal", set the permission to "Can use", and click the Add button

- Close the permission dialog
Copy connection details
- Finally, click on the Connection details
- And copy the Server hostname and HTTP Path into the Topogy Databricks Integrations fields.
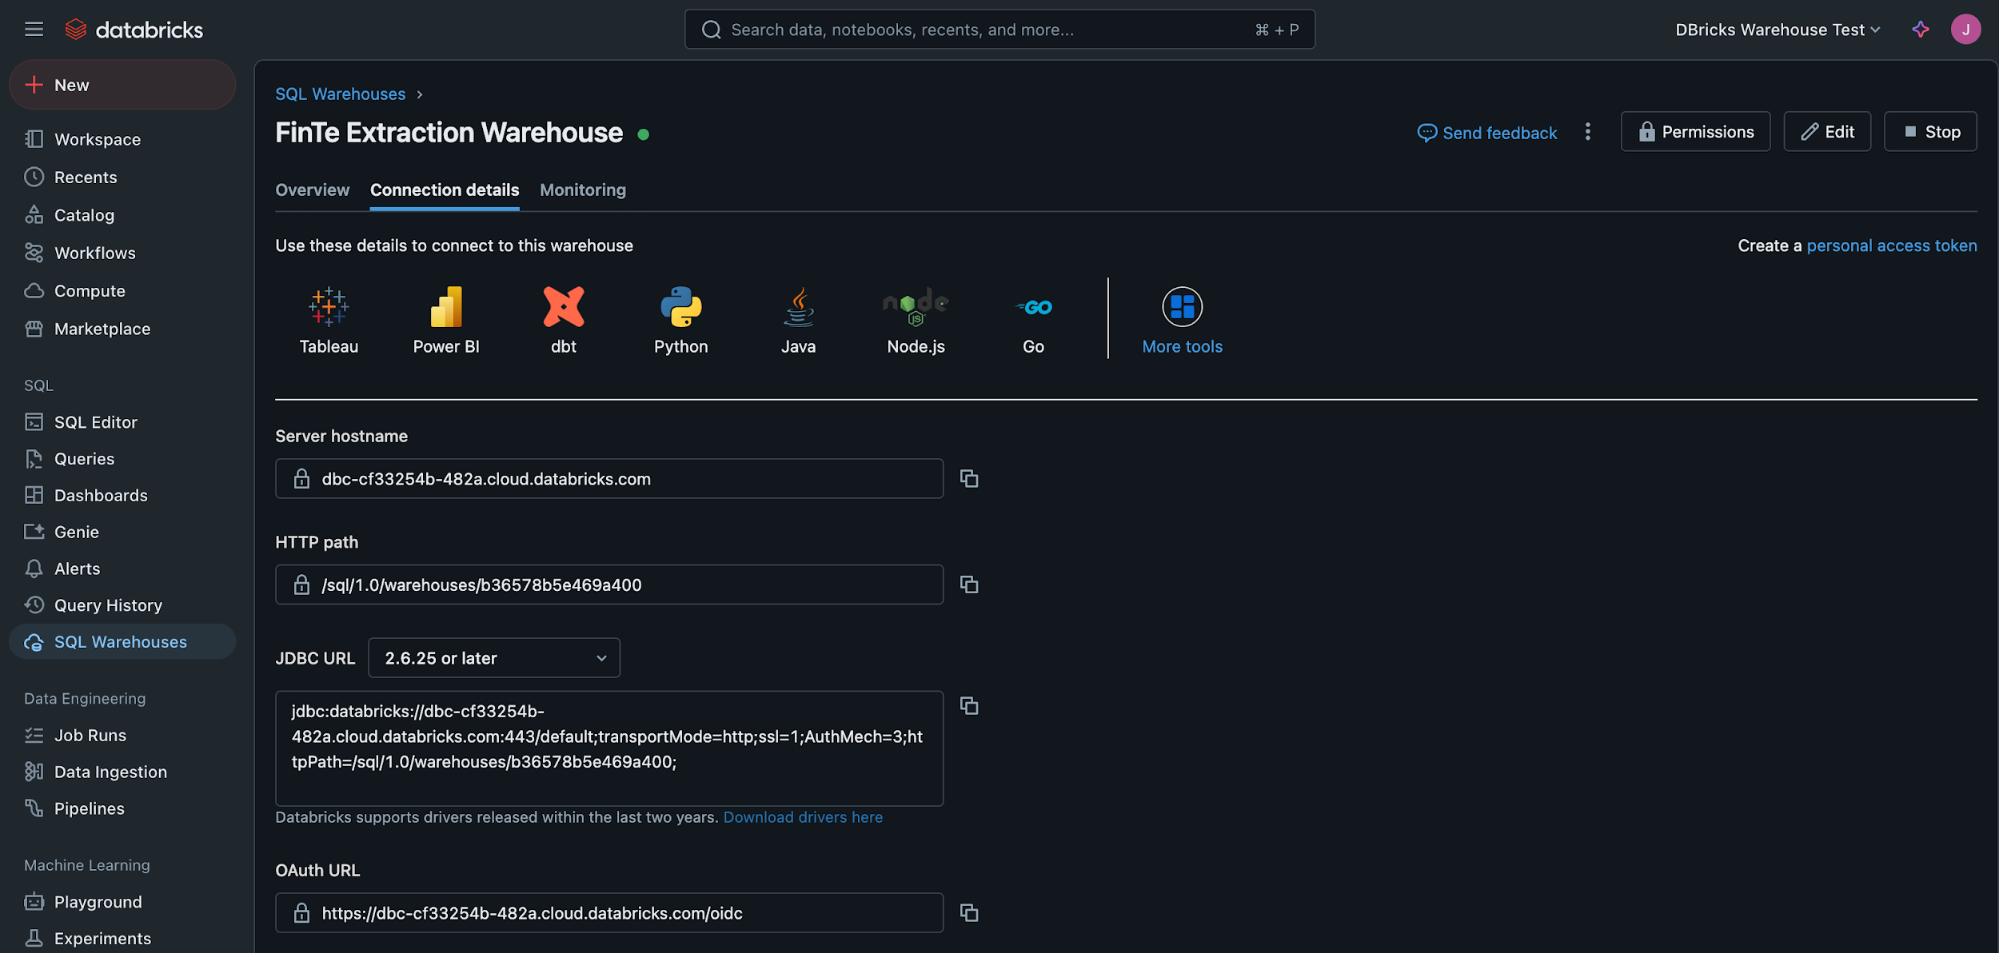
The Server hostname and HTTP path fields are then copied into the Topogy Databricks integration page.
Granting read access to billing and usage data
Topogy requires read-access to several system tables that Databricks provides for tracking usage and resource utilization. The quickest way is to run this query as a Workspace notebook.
Import the grants script
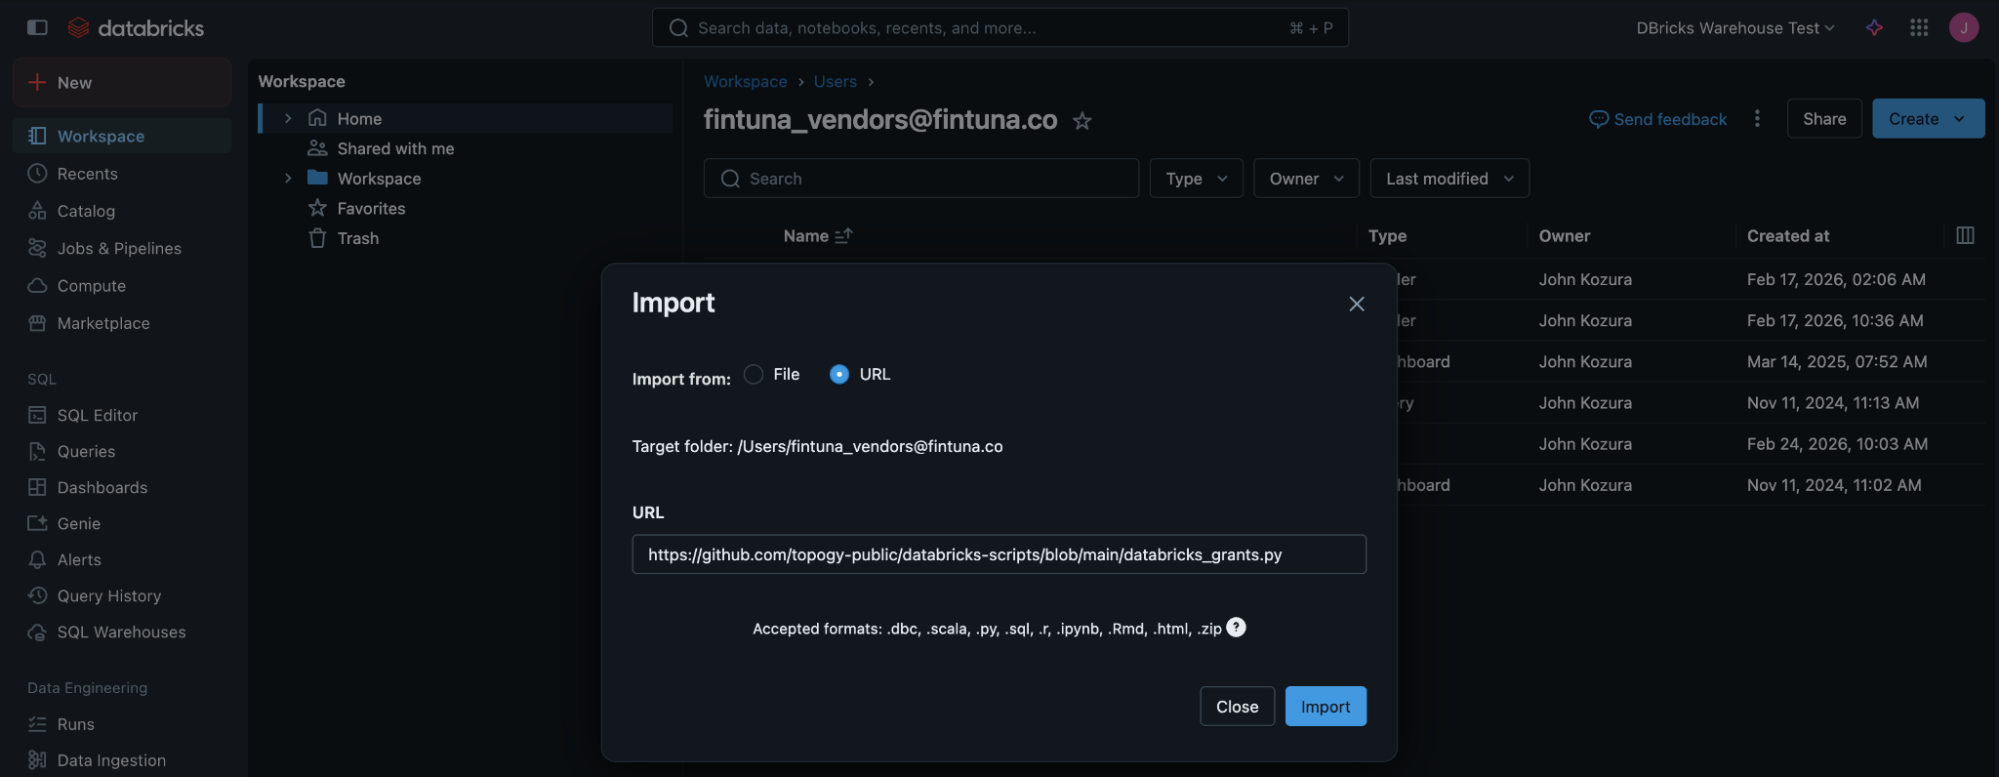
- Go to Workspace->Import:


- Click on URL, and enter: https://github.com/topogy-public/databricks-scripts/blob/main/databricks_grants.py
Run the script
- This will bring in a script which searches for your Topogy Principal, and gives it read permissions to system tables with billing, job, and query data. Click the blue Run Button to run it.
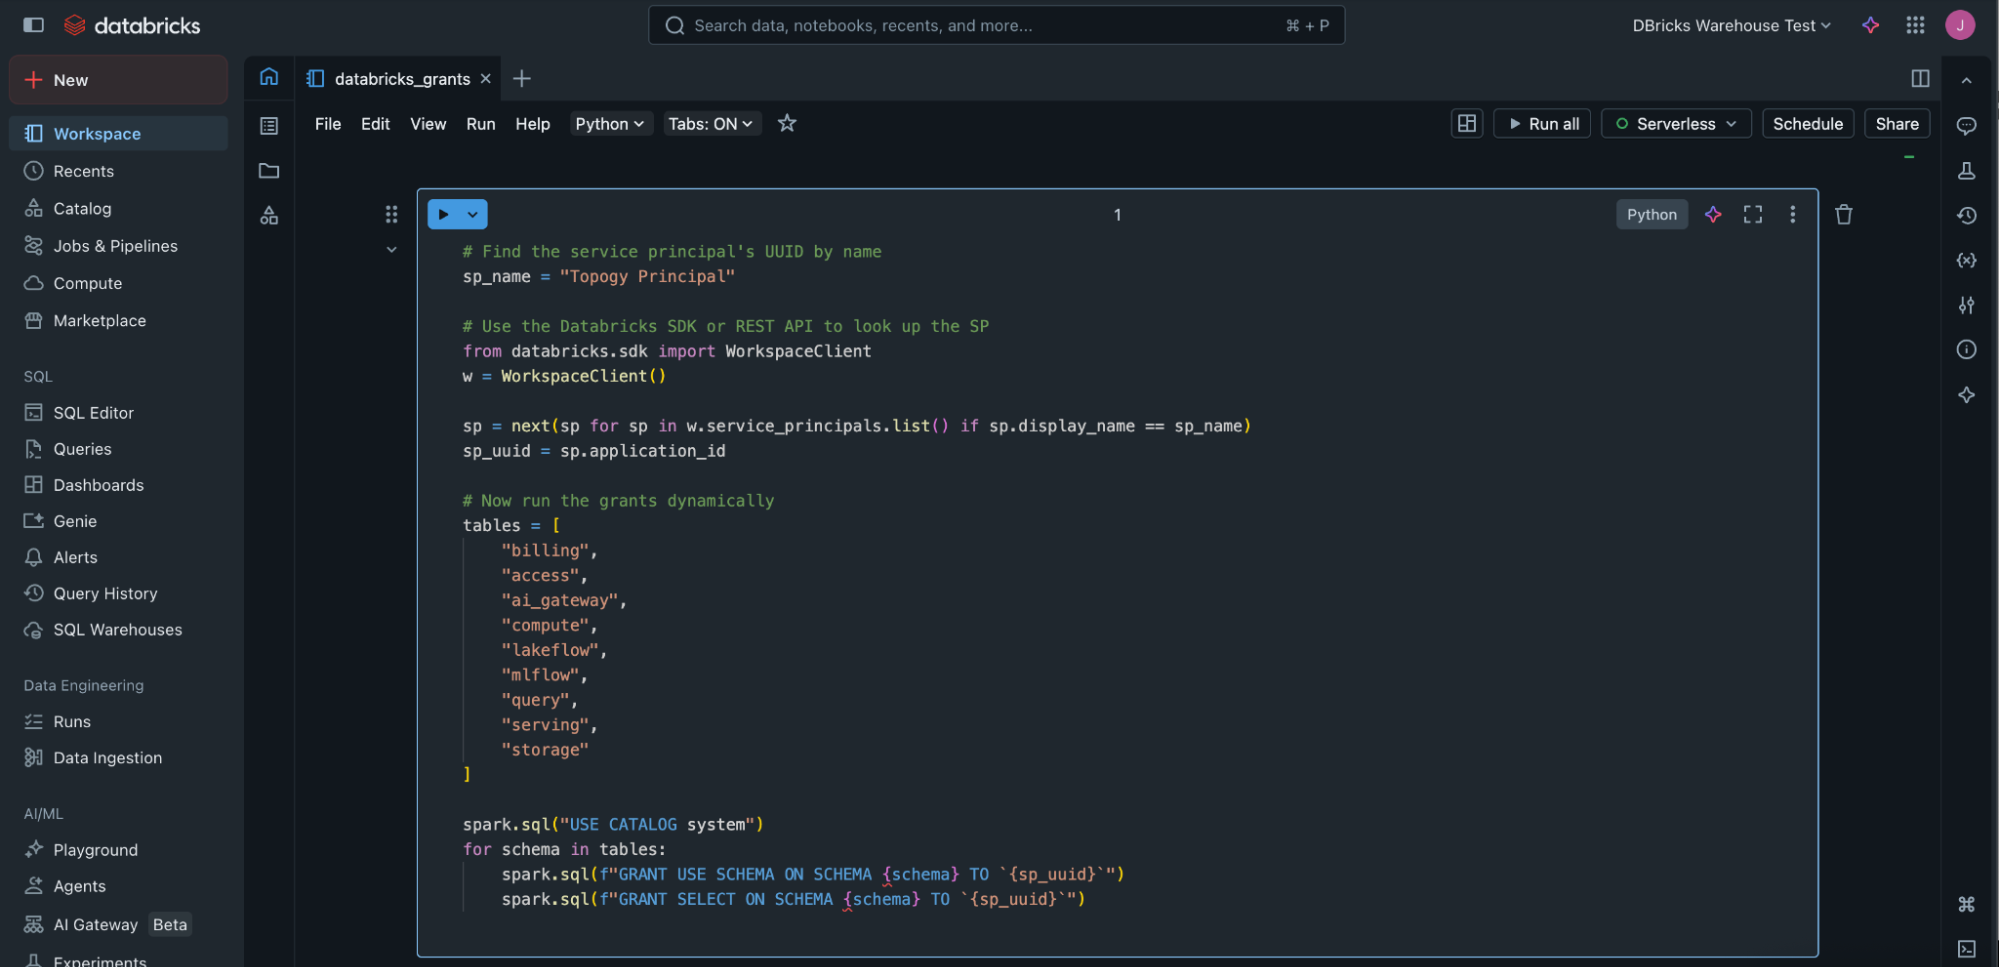
This completes the process. You can delete this with the trash can on the right if you don't want to keep this script.